DIY: Protection screen for intercooling radiator

 03-30-2011, 06:00 PM
#94
AudiWorld Member
Join Date: Oct 2010
Location: South Florida
Posts: 139
Likes: 0
Received 0 Likes
on
0 Posts

 03-30-2011, 08:21 PM
#96
AudiWorld Newcomer

Join Date: Apr 2010
Location: Toronto
Posts: 5
Likes: 0
Received 0 Likes
on
0 Posts
Thanks to NWS4GUY and the DIY, i finally mounted the mesh up. Yah it's kinda ghetto, but eh, nobody's gonna see it anyways xD.
So basically, did what the DIY said, and as other members suggested i decided to double it up as well, but instead of adding another layer on top, i only doubled the lower half of the it cause from what i saw majority of the rocks and stuff where hitting the lower part. I was planning to use zip ties but instead, my mesh was wrapped with this wire
Use those wires to weave the two mesh together, which is pretty tight and sturdy. The two mesh would create a zig zag pattern, that turned out to be this
http://searchengineoptimizations.wee...21/6358626.jpg
Once it was all done, made sure everything was tight and used the wires again to mount the mesh to the rad part
http://searchengineoptimizations.wee...21/4912609.jpg
and Voila ! nice and tight and no movement at all.
http://searchengineoptimizations.wee...21/1128277.jpg
The silver colour showed up too much when i first tested it out, later on i decided to spray paint it blk which was less noticeable when you're about 5 feet from the front. But you'll see it about 2 feet close.
Sorry for the camera pics
04-02-2011, 08:59 AM
#98
AudiWorld Member

Join Date: Jan 2003
Posts: 95
Likes: 0
Received 0 Likes
on
0 Posts
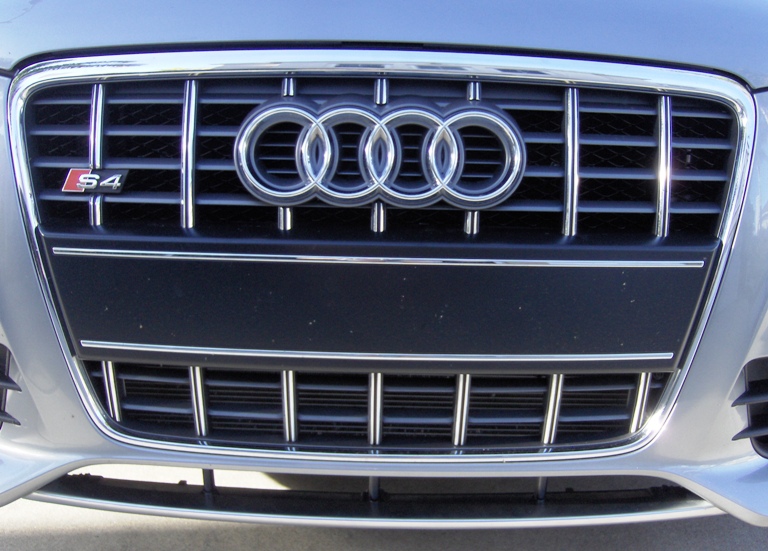
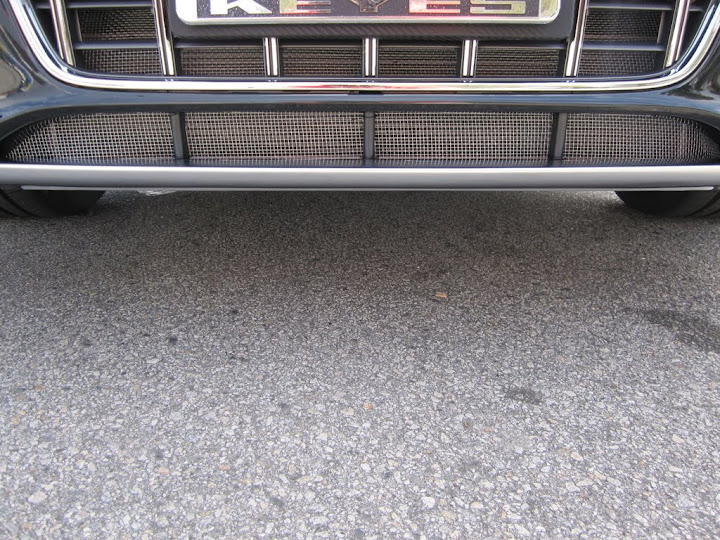
I installed the Audi OEM intercooler radiator grill today and it was pretty easy.
I removed the radiator to grill cover like in NWS4guy's DIY. I didn't remove the air intake scoop but it might have been a bit easier if I did.
I lowered the grill from the top and it clipped onto the intercooler radiator with the 6 clips top and 6 clips bottom. In the picture below you can see the clips hooked on the top of the radiator - sorry about the intercooler radiator being blurry.

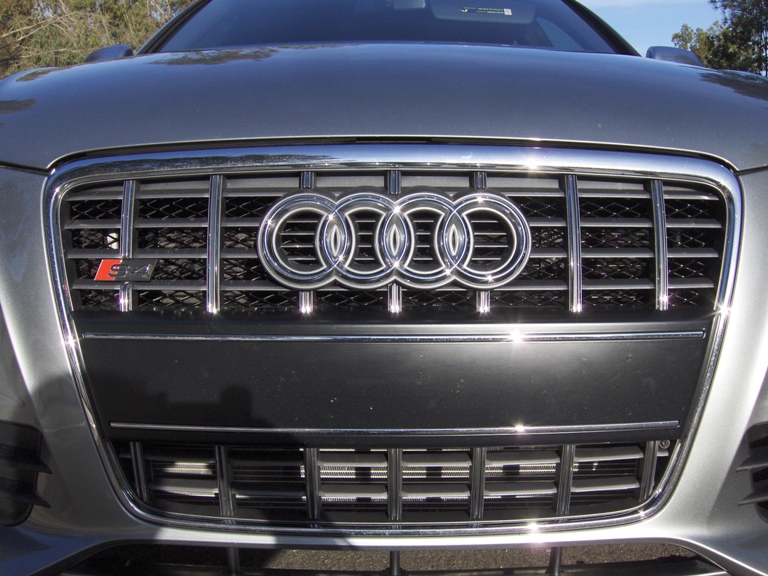
I put the 9 t-clips into the smaller holes along the center line of the grill but reaching down from the top. I checked that I was in the right spot before pushing the clip in by looking in from the front through the grill. In the picture below is one of the clips pushed in.

Here is a picture of the grill installed.

I'm sorry there aren't more pictures but there really wasn't much to take a picture of.
I'm happy how it came out and how easy it was to install.
The grill wasn't cheap but I'm happy I did this.
I removed the radiator to grill cover like in NWS4guy's DIY. I didn't remove the air intake scoop but it might have been a bit easier if I did.
I lowered the grill from the top and it clipped onto the intercooler radiator with the 6 clips top and 6 clips bottom. In the picture below you can see the clips hooked on the top of the radiator - sorry about the intercooler radiator being blurry.
I put the 9 t-clips into the smaller holes along the center line of the grill but reaching down from the top. I checked that I was in the right spot before pushing the clip in by looking in from the front through the grill. In the picture below is one of the clips pushed in.
Here is a picture of the grill installed.
I'm sorry there aren't more pictures but there really wasn't much to take a picture of.
I'm happy how it came out and how easy it was to install.
The grill wasn't cheap but I'm happy I did this.
04-02-2011, 09:39 AM
#100
AudiWorld Member
Join Date: Dec 2010
Location: Los Angeles
Posts: 443
Likes: 0
Received 0 Likes
on
0 Posts
I followed the OP instructions using the hardware cloth. I wanted the mesh not to sit so close to the intercooler to give more of a "buffer zone" between the mesh and the intercooler. I was originally going to use zip ties, but then i thought it would be a real PITA to cut the ties if i ever need to remove the mesh. So i bought some of this at my local arts & crafts store http://www.michaels.com/ . You might be able to find it where they sell the "beading/jewelry" section

First, i pushed the mesh flush against the front bumper. Then, I bent the jewelry wire and fed it into the front. Next, i stuck my arms inside the engine bay so i can twist the wires like a twist tie. I used 2 twist ties on each plastic support column. You can barely notice the aluminum wires, unless you get on your hands & knees and look closely.


Note, the mesh will be a "little" wavy and will not sit perfectly flush with the bumper just due to the nature of the easily bendable mesh, but i think it looks halfway decent and does the job....
First, i pushed the mesh flush against the front bumper. Then, I bent the jewelry wire and fed it into the front. Next, i stuck my arms inside the engine bay so i can twist the wires like a twist tie. I used 2 twist ties on each plastic support column. You can barely notice the aluminum wires, unless you get on your hands & knees and look closely.
Note, the mesh will be a "little" wavy and will not sit perfectly flush with the bumper just due to the nature of the easily bendable mesh, but i think it looks halfway decent and does the job....
Last edited by skiracerblah; 11-03-2011 at 07:16 AM.