When you click on links to various merchants on this site and make a purchase, this can result in this site earning a commission. Affiliate programs and affiliations include, but are not limited to, the eBay Partner Network.
You may have saw my other post asking if anyone else has DIY'd their water pump, which I don't believe anyone here has yet so thought I'd post up a DIY of sorts. Hopefully it'll help others looking to do this on their own!
Difficulty (1 = Easy and 5 = Hard) : 3 if you're handy and have done some DIY work like brakes, spark plugs, etc.
Time: About 3 hours start to finish taking my time. I was able to get the water pump out in 45 minutes from first turning a screw to getting it taken out. I spent probably another 20-30 min cleaning up the front of the block. Re-assembly up to the point of ready to bleed the coolant took about another 30 minutes. Bleeding the coolant took the longest at almost an hour to get it to burp and get heat in the cabin.
Tools/supplies needed:
- Flat head and phillips screw drivers
- Small right angle pick to break the seal of the coolant hoses at the charger
- Pliers to loosen clamps on the coolant hoses at the charger
- 3/8 Socket wrench
- T30 torx for most of the bolts in the engine bay, including two on the belly pan (right in the middle)
- M10 triple square bit for the water pump pulley bolts (you can get a set on Amazon if you don't have one)
- Serpentine belt tool (slim bar, available at Harbor Freight) with a 16mm crows foot or stubby socket for the tensioner to loosen the belt
- Small pry bar
- Two mallets/hammers
- Brake clean
- Rags or towels
- Floor jack
Parts:
- Water pump PN 06E121018H. The cheapest I found was from FCP Euro.
- G13 coolant. I ended up using almost a gallon of concentrate and full gallon of distilled water for a 50:50 mix.
- Distilled water
- Serpentine belt if you are going to replace yours (I forgot to order one so re-used the existing one for now)
Summary:
The job wasn't bad at all and not having to remove the charger saves a lot of time. For a total of $212 and a few hours, it was worth DIYing this vs going to the dealer. The WP was definitely leaking for some time through the weep hole past the pulley bearing seal. July 2016 build and 68k miles.
Steps:
Note: Some pics may appear out of step like still seeing engine cover on but in previous pictures, it was out already. I had to go back and take some new photos after the job was done to post this DIY.
1. Remove the belly pan. Most are quarter turn screws using a phillips or flat head. There are two T30 torx right in the middle. Just follow the screws around the perimeter and save the two torx for last. It's easier if you just jack up one side of the car with a floor jack and scoot underneath. I was able to reach the furthest screws by the back of the engine from scooting in a little but from the front.
2. Lower the jack and level out the car. Place your fluid collection device underneath.
3. Remove the engine cover by undoing the two clips, one on each side towards the front of the engine cover:
4. Remove the two air snorkels:
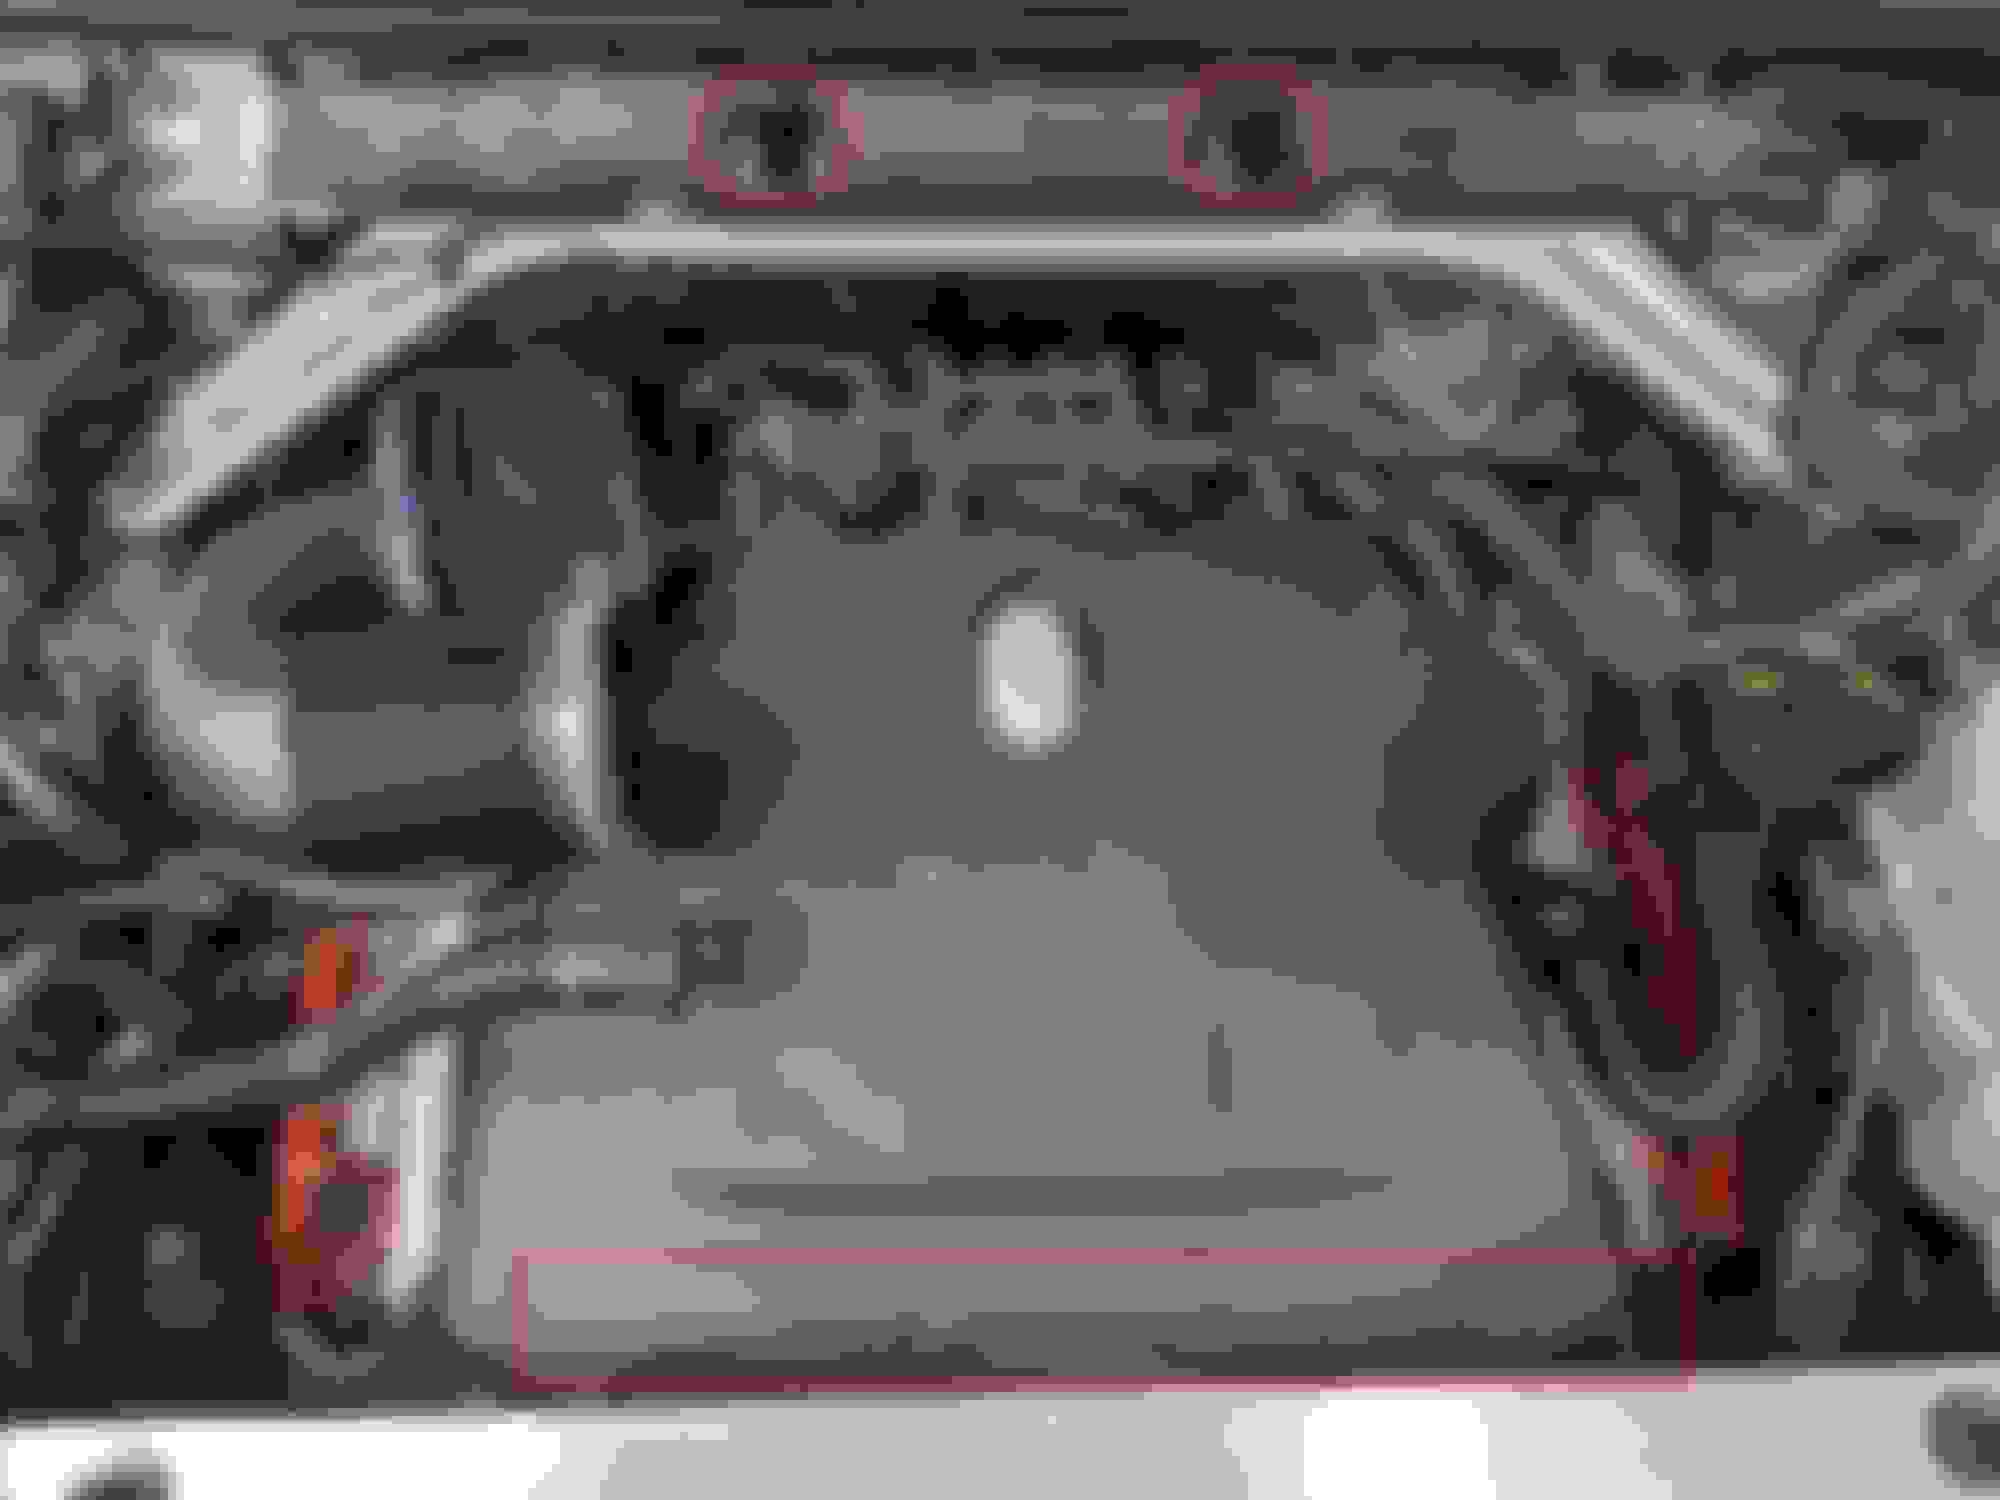
5. Remove the airbox by loosening the gear worm clamps around the air intake hose (1 & 2), secondary air hose (3) by pushing the hose in then press on the ribbed tabs on the top and bottom then pull out, remove the vacuum hose by pulling down (4), unclip the sensor (5) and pop the clips off holding the sensor wire to the airbox (6 and 7):
6. On the driver side of the air box, unclip the oil funnel by pressing the tab in and pull upwards:
7. Now remove the airbox by pull up and towards you. You'll see the vacuum line you pulled earlier in step 4. Remove the line from the holders on the supercharger cover and move out of the way.
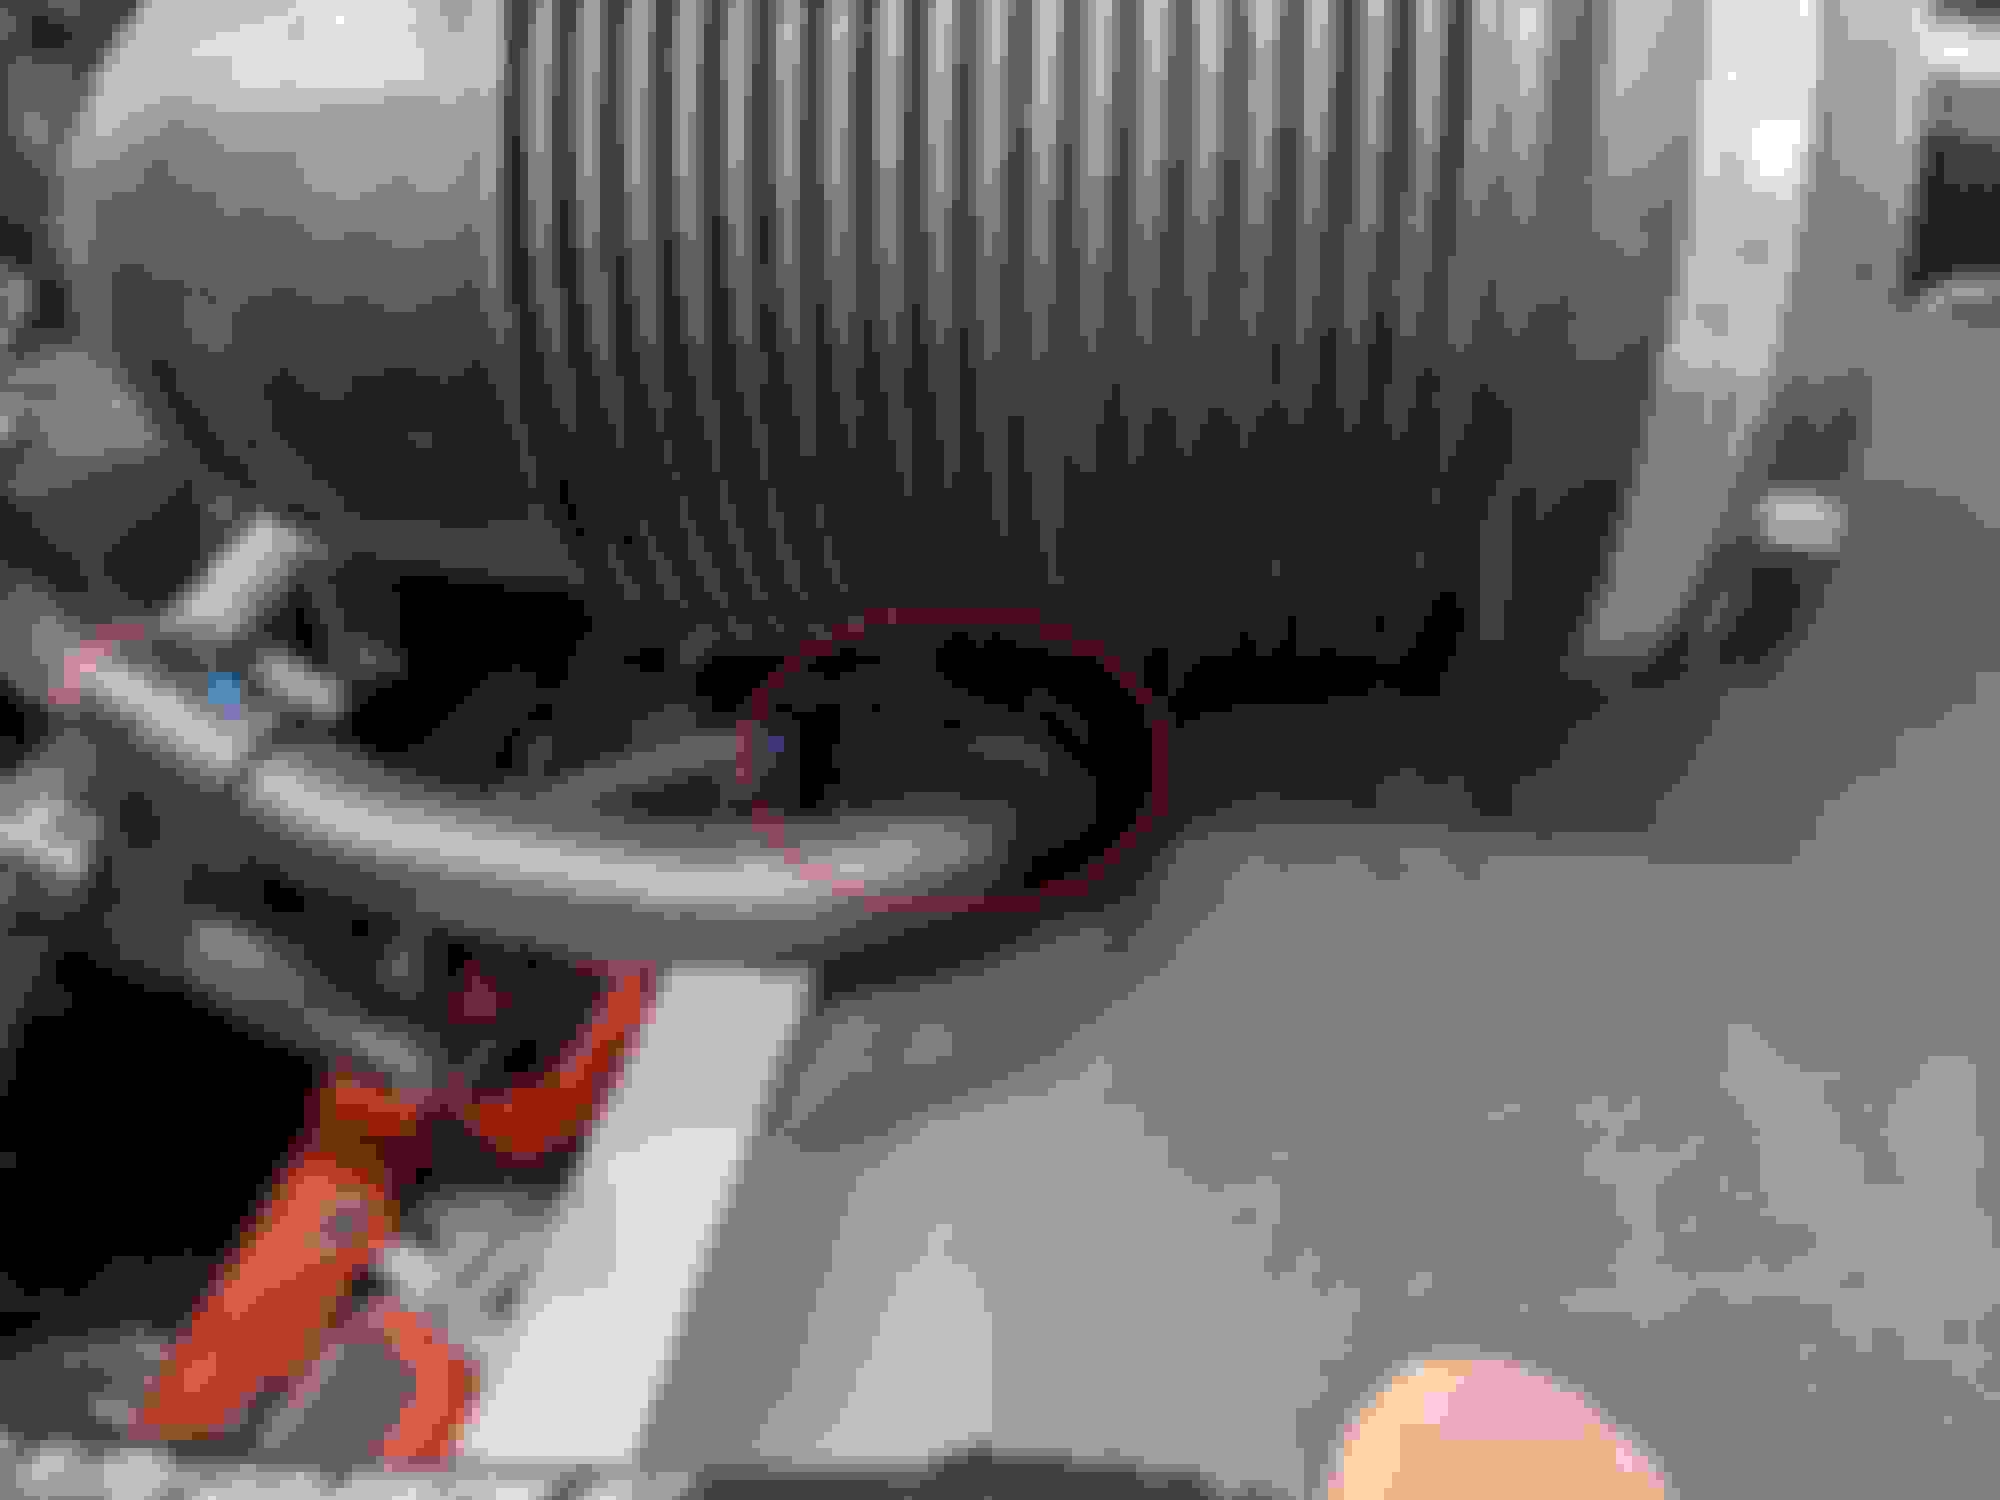
8. Undo the fuel line clip that is underneath the air hose, take fuel line out and move it aside:
9. Now you can remove the cover by pulling up on the 4 corners.
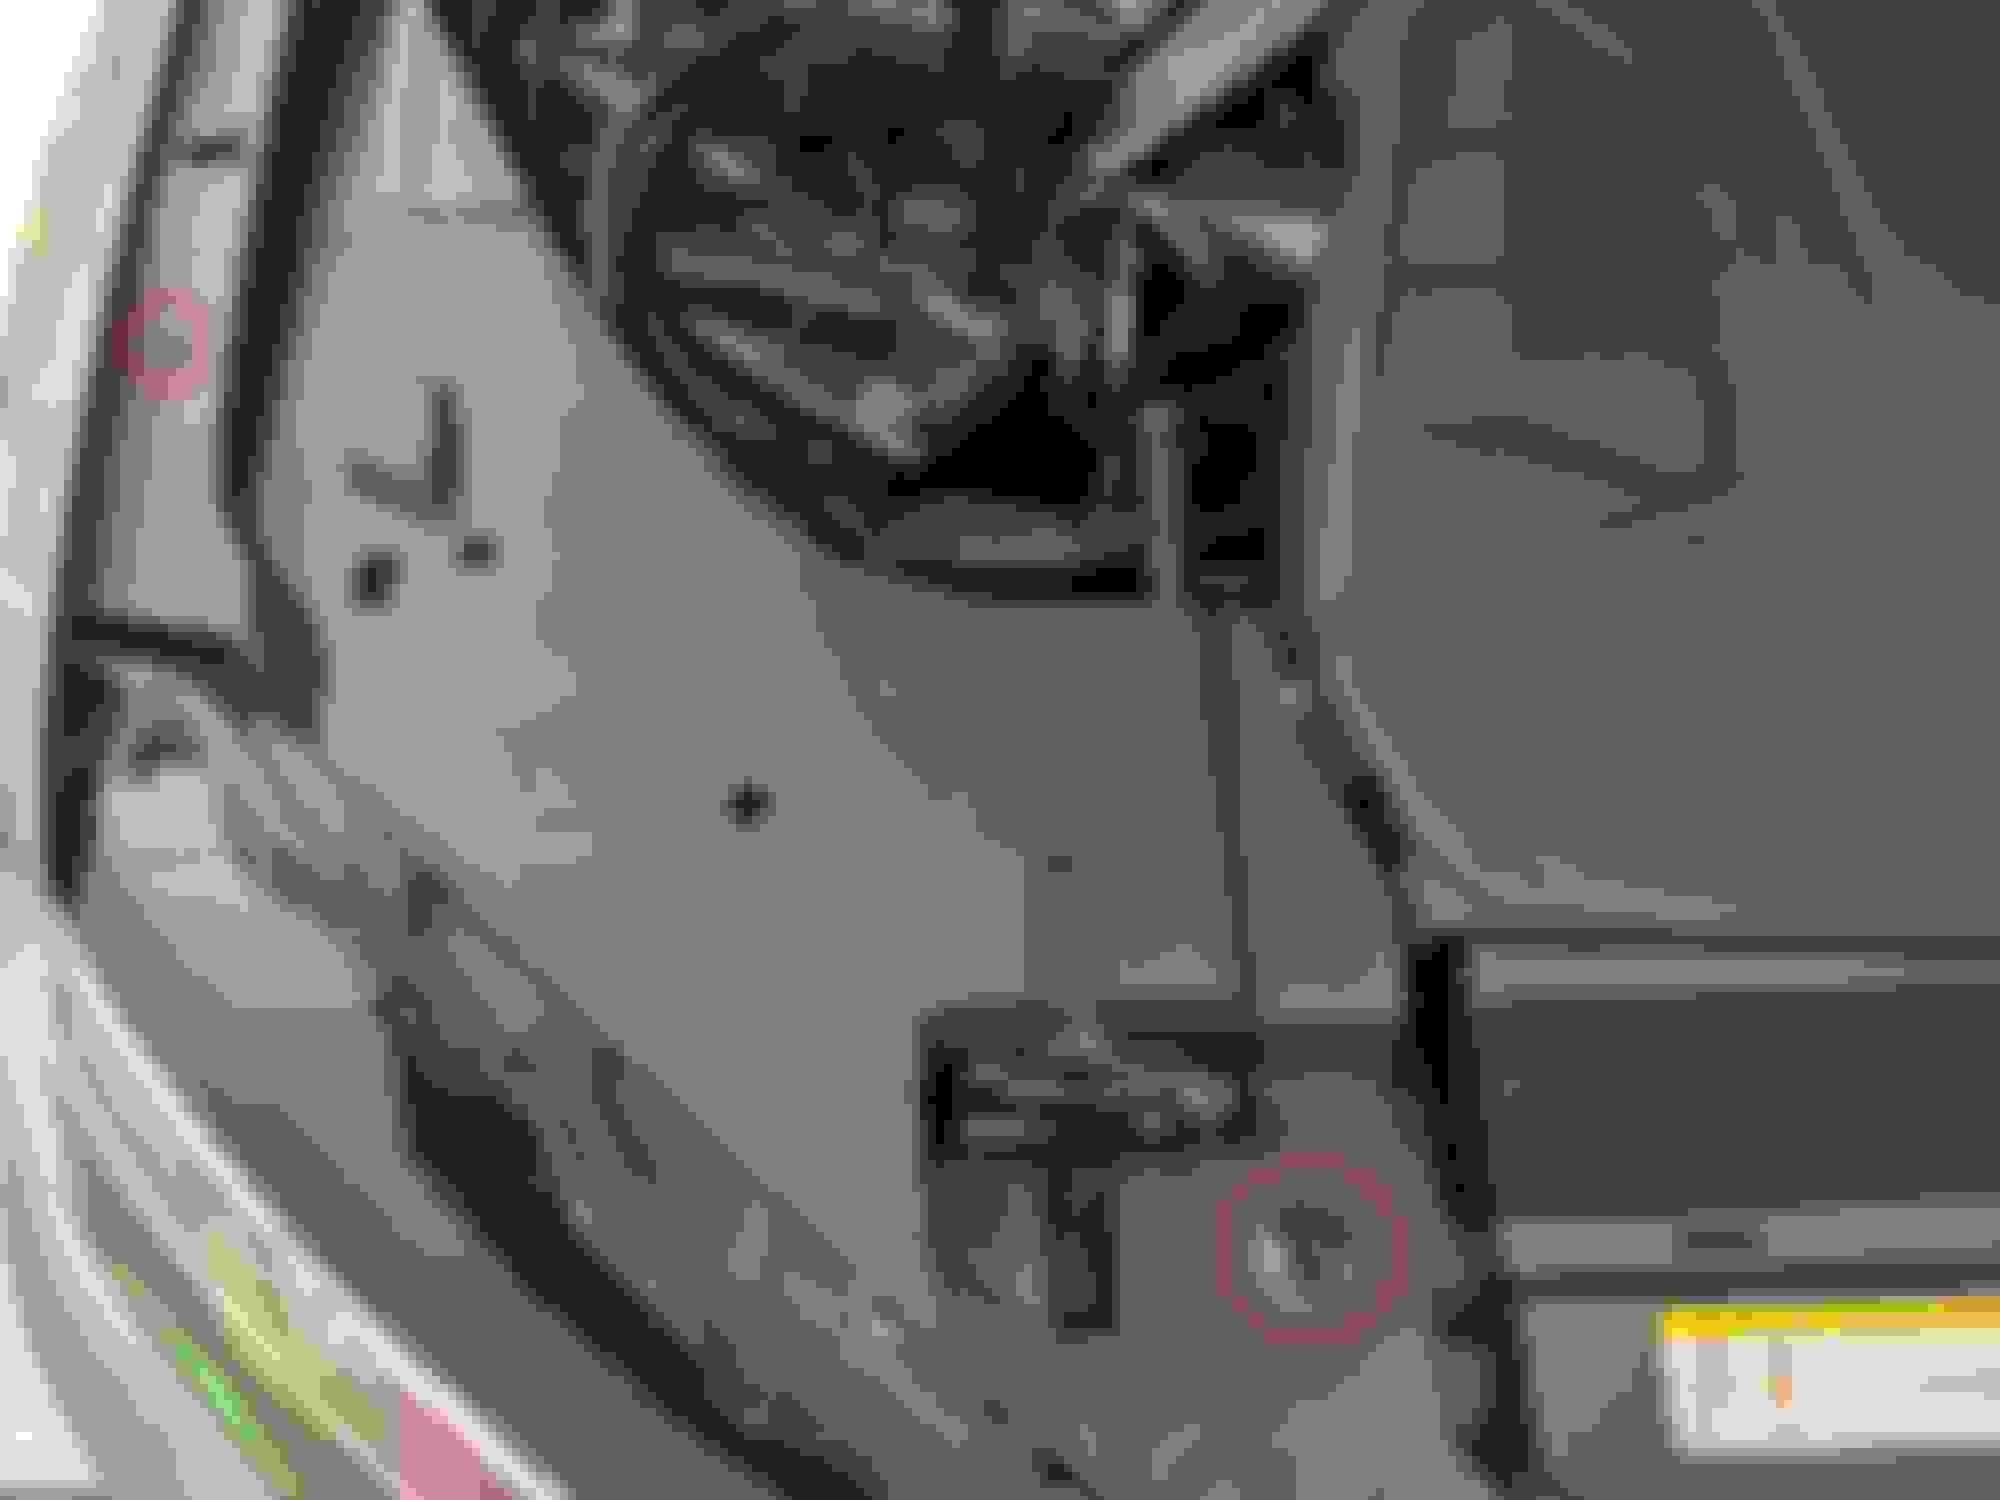
10. Remove the two covers on both sides of the engine bay by turning the clip at the bottom by headlights a quarter turn and picking out the rubber spacer near the fenders. If you don't, those will pop out when you pull the cover out. Once loose, pull up on the covers gently to release them from the sockets the plastic pegs are in underneath. Removing the covers will allow you to remove the aluminum brace by the radiator for more working space.
11. Remove the aluminum brace with your T30 bit. There are the 4 bolts at the top and two on the inside
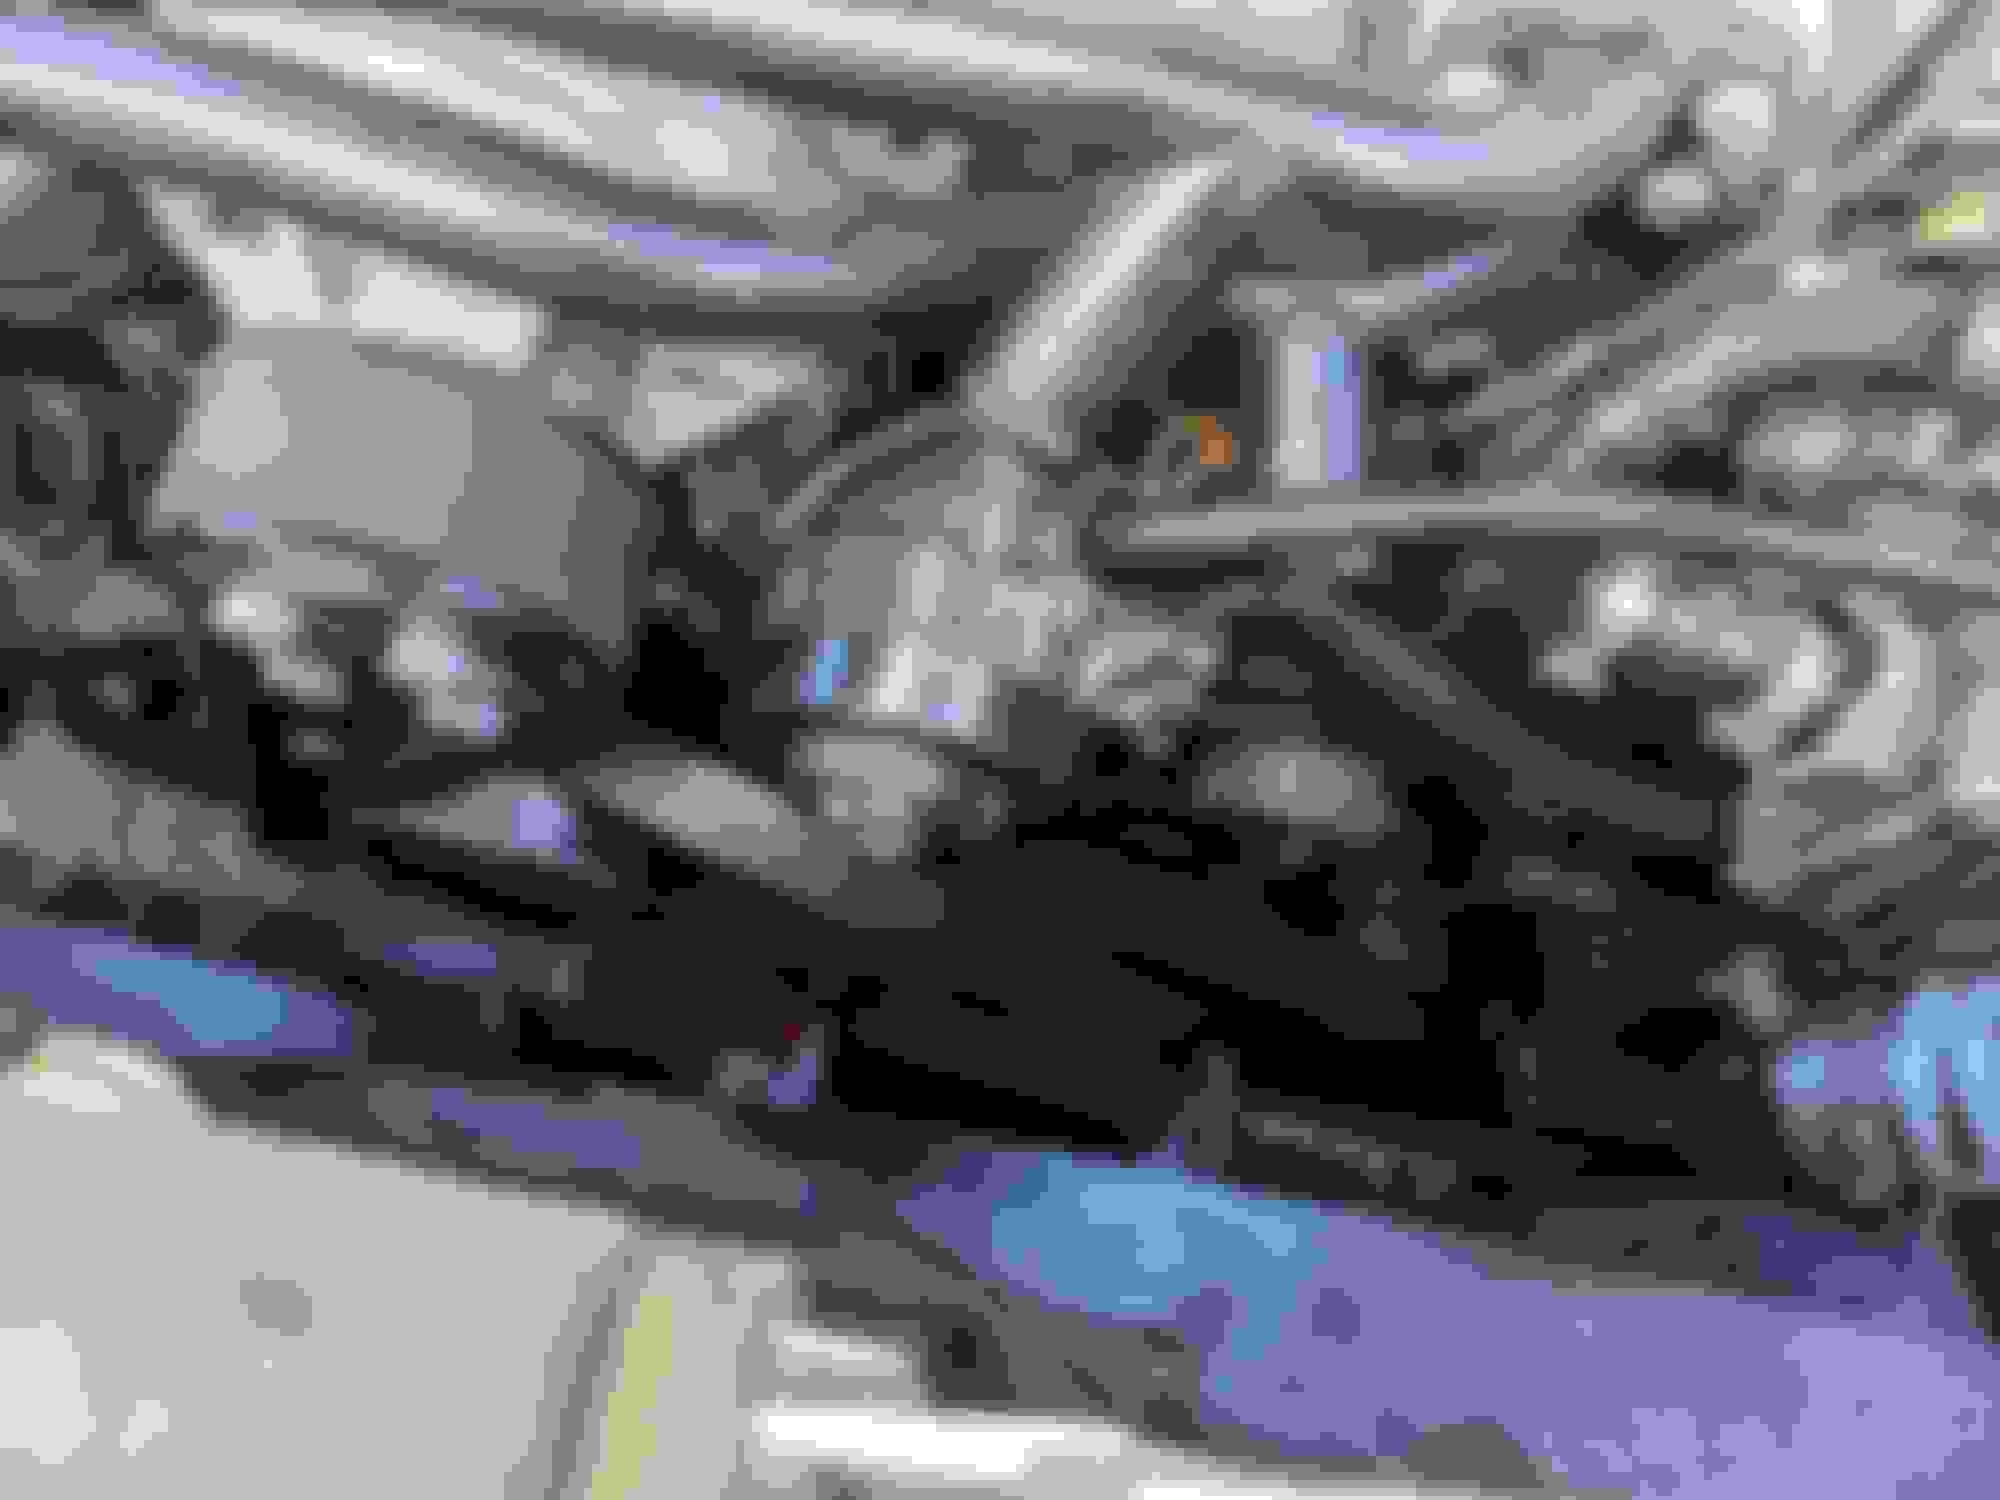
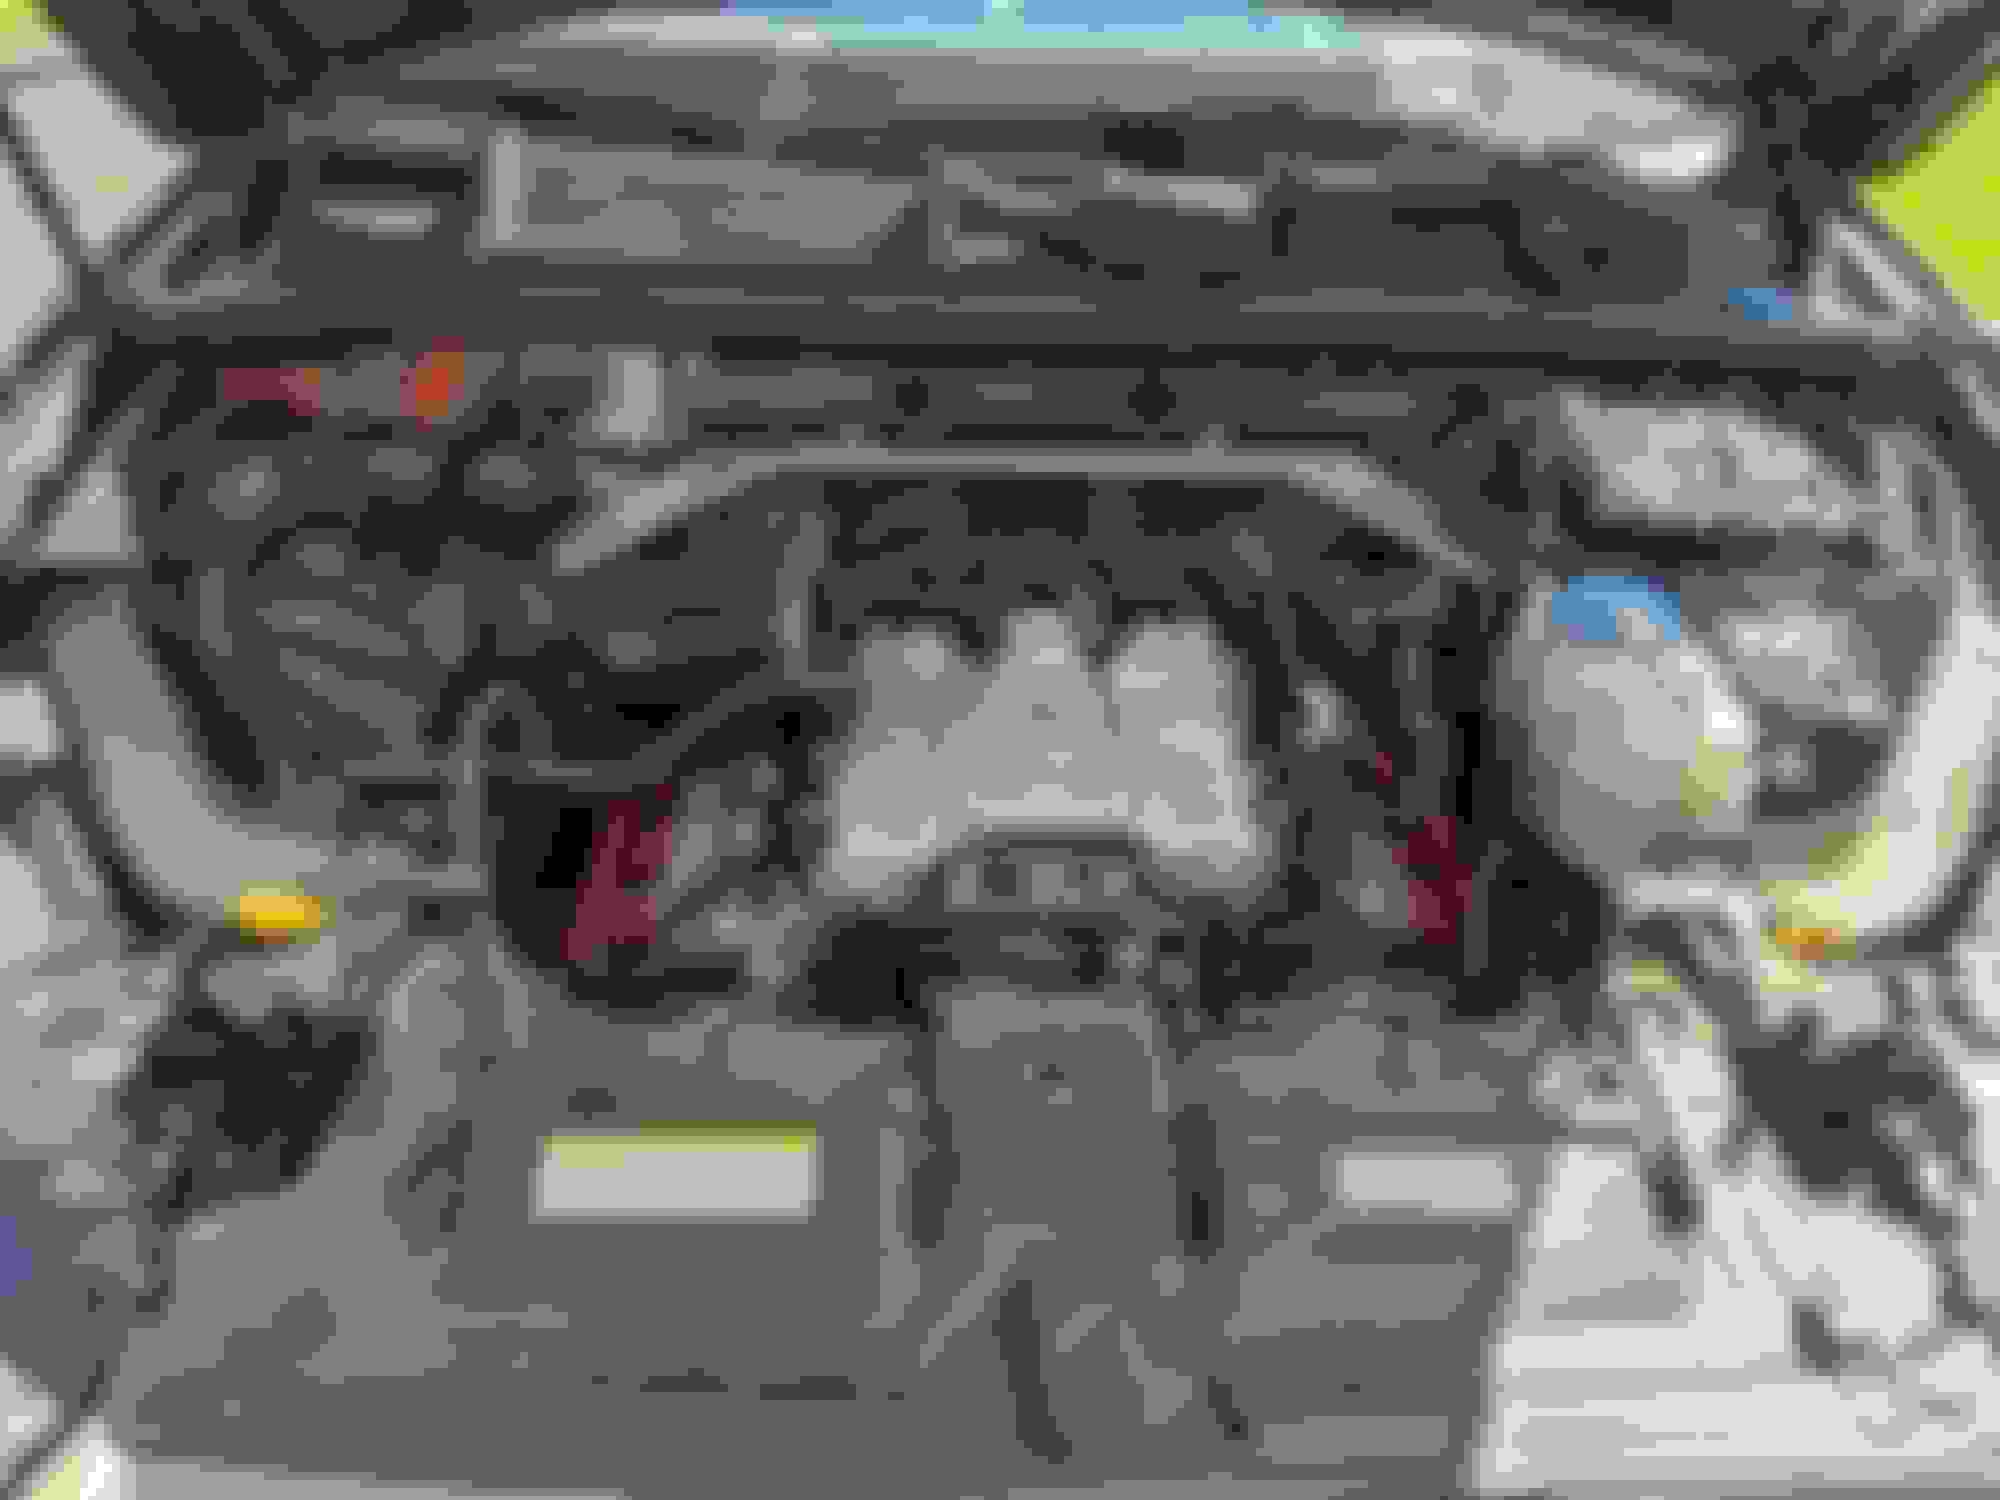
12. Loosen the T30 bolt for the front coolant hose bracket (3) then undo the coolant hose clamps (1 & 2) using pliers and slide them down a bit. Use your right angle pick to break the seal on the hoses and slide them off. You'll now be able to move the hard lines to the right and left as needed. You can see the tensioner (4) behind the hard lines which is inaccessible until you can move them out of the way. Don't take off the belt yet! Audi uses a special tool to hold the water pump pulley in place while you undo the bolts. You can use the tension that's already on the belt to hold the pulley to loosen the M10 triple square bolts (just break them free). Since the fan gets in the way for all but one of the bolts and I did not have a slim ratchet, I had to loosen one bolt at a time. After loosening one, I relieved the tension (using your serpentine belt tool and 16mm crow or socket), spun the pulley by hand to the next bolt, put tension back on and loosened the bolt. Once you get all three loosened, then you can take the belt off of the water pump pulley.
Note 1: I left the belt in place and did not remove it completely. I did end up re-using the belt as I forgot to order one but did inspect the belt and was fine. If you do want to replace yours, you will need to remove the idler roller that is directly below the supercharger pulley in order to get the belt out as it blocks it.
Note 2: The belt will fall out of place off the pulleys and tensioner so make a mental note of it or google a picture of the 3.0T serpentine belt routing so you know how to put it back correctly later on.
13. Remove the bolts off the pulley and wiggle it out. You may need a small pry bar and gently coax it out. Apply a little pressure from behind, spin and repeat until it comes off.
14. Now take the opportunity to clean up the area around the pump as best you can with brake clean and rags. I did this to minimize dirt getting into the water pump port when taking it off, especially the clumps of dirt that had accumulated over the years.
15. Remove the 7 T30 bolts around the water pump. There will be two underneath that you cannot see but will be able to feel them. Also disconnect the vacuum line on the pump. Once you get all the bolts off, it'll likely be pretty stuck on there. I put the handle end of the mallet against the pump and used another mallet to gently tap the head of the first to loosen it up. Eventually it'll break free.
16. Clean up the area where the new pump will mate to. Compare your old pump and new pump just to be sure before installing it. Start threading the bolts back in by hand then use your tool of choice to finish threading them. Don't forget to reconnect the vacuum hose to the port.
17. Clean up the pulley, especially the backside as mine was nasty, before putting it back on.
18. I cleaned up a bit of the coolant and dirt residue off the belts and block. I sprayed down the area with all purpose cleaner and a gentle stream of water. After giving a clean, reassemble in reverse order and stopping before putting the aluminum brace back on. You'll need to be able to see the area afterwards to verify there's no leaks or things gone awry during bleeding of the coolant.
19. To bleed the coolant, you can get one of those vacuum bleeders or do it the regular way. You can look up the numerous videos on bleeding the 3.0T. There are two bleeder ports at the back of the supercharger and one at the heater core hose (underneath the cowl). I've also read that the 3.0T self bleeds as you'll note the coolant expansion tank will bubble out. Set the temp on HVAC to HI and bleed until you get heat again. It took about an hour for me. While I was getting some air bubbles at the charger bleeder screws, there was never any at the heater core. The expansion tank did bubble out and eventually I got nice and toasty heat back.
20. Once bled, you can start reassembling the rest. I took the opportunity to clean the engine bay since it's never been done. I wanted to get out as much coolant residue as I could. All purpose cleaner + brushes + gentle spray of water. It'll dry up quick from the heat in the engine bay from the bleeding. Before cleaning After cleaning (not perfect but a lot better)
20. All buttoned back up:
I hope this DIY helps others who may want to tackle this. Let me know if anything looks out of place in the write up. I also have the Audi repair manual guide on this repair but it's literally a one pager. Happy to answer any questions!
Doesn't look any more complicated than replacing a water pump on an old small block. Few more bolts, and a different fastener type, but otherwise similar.
Excellent write up. I might be doing this soon, myself. I noticed the pictures are missing. Is that intentional? [Edit: Nope. It's fine. Just my employer blocking the domain.]
This was a great how-to! I�m pretty mechanically inclined and have worked on Audis and VW for 20 years but for some reason this expensive *** Q7 scares me and I�m reluctant to work on it myself. Following this saved me $1300 at the stealership, thanks for taking the time to do this. It gave me the confidence to dive into this thing that just came off of warranty
 10-18-2021, 11:20 AM