When you click on links to various merchants on this site and make a purchase, this can result in this site earning a commission. Affiliate programs and affiliations include, but are not limited to, the eBay Partner Network.
I just completed my first major DIY on my 18' SQ5. I've worked a lot on my BMW E46, E86, and Mazda 6. None of them were as complicated as this Audi! In case this is anyone's first time with this platform, I'd like to provide some of my personal tips that no video ever tells you about. As usual before doing a job, I watch YouTube and read forums to understand how to actually do it for the specific car. While I thank all the videos being made, they all seem to glance over the nuanced difficult parts because somehow it's all DIY on a car lift, or mention what tools really help save time.
Spark Plugs
I've had no problems changing spark plugs in my Mazda with a regular Husky deep socket. This time I tried my Husky 14mm deep socket for the Audi. As I inserted the socket into the tube, I can feel it catch and lock. I would start spinning the ratchet and it would turn with friction like a tight screw, but it never actually "cracked" loose. I struggled with it and kinda felt like the threads were stripped as no matter how much I turn clockwise or CCW, nothing would happen. I decided to try on the second spark plug and the same exact thing happened. I swore the 12 point socket would catch on the plug. Being afraid I ruined two spark plugs I decided to put everything back. The car started perfectly fine, which told me the spark plugs never unscrewed to begin with, and I can see a ring of scuffing on the edge of the 14mm socket.
Actual thanks to another post mentioning that the socket itself should be no wider than 17mm diameter, I measured my Husky and it was over 20mm! I ordered a "14mm Thin Wall Swivel Magnetic Spark Plug" from Amazon for next day. After another long struggle to get all the electrical plugs out of the way ( and breaking so many tabs), I lowered the new thin wall socket into the tube and... crack! The socket was absolutely perfect and I could easily tell I engaged the plug and it was coming loose.
Another random tip I learned from the internet... work on the spark plugs when the engine is cold! Apparently a hot spark plug could easily break apart or the incompatible metals between the threads could strip the engine block threads.
So the lesson is, make sure you really do have a thin wall socket for Audi. Your big box store Husky / Craftsman / generic deep socket will NOT work and might damage the spark plug!
Brakes
All the videos made the brake job look easy enough so I got started without hesitation. Standard process like any other car.
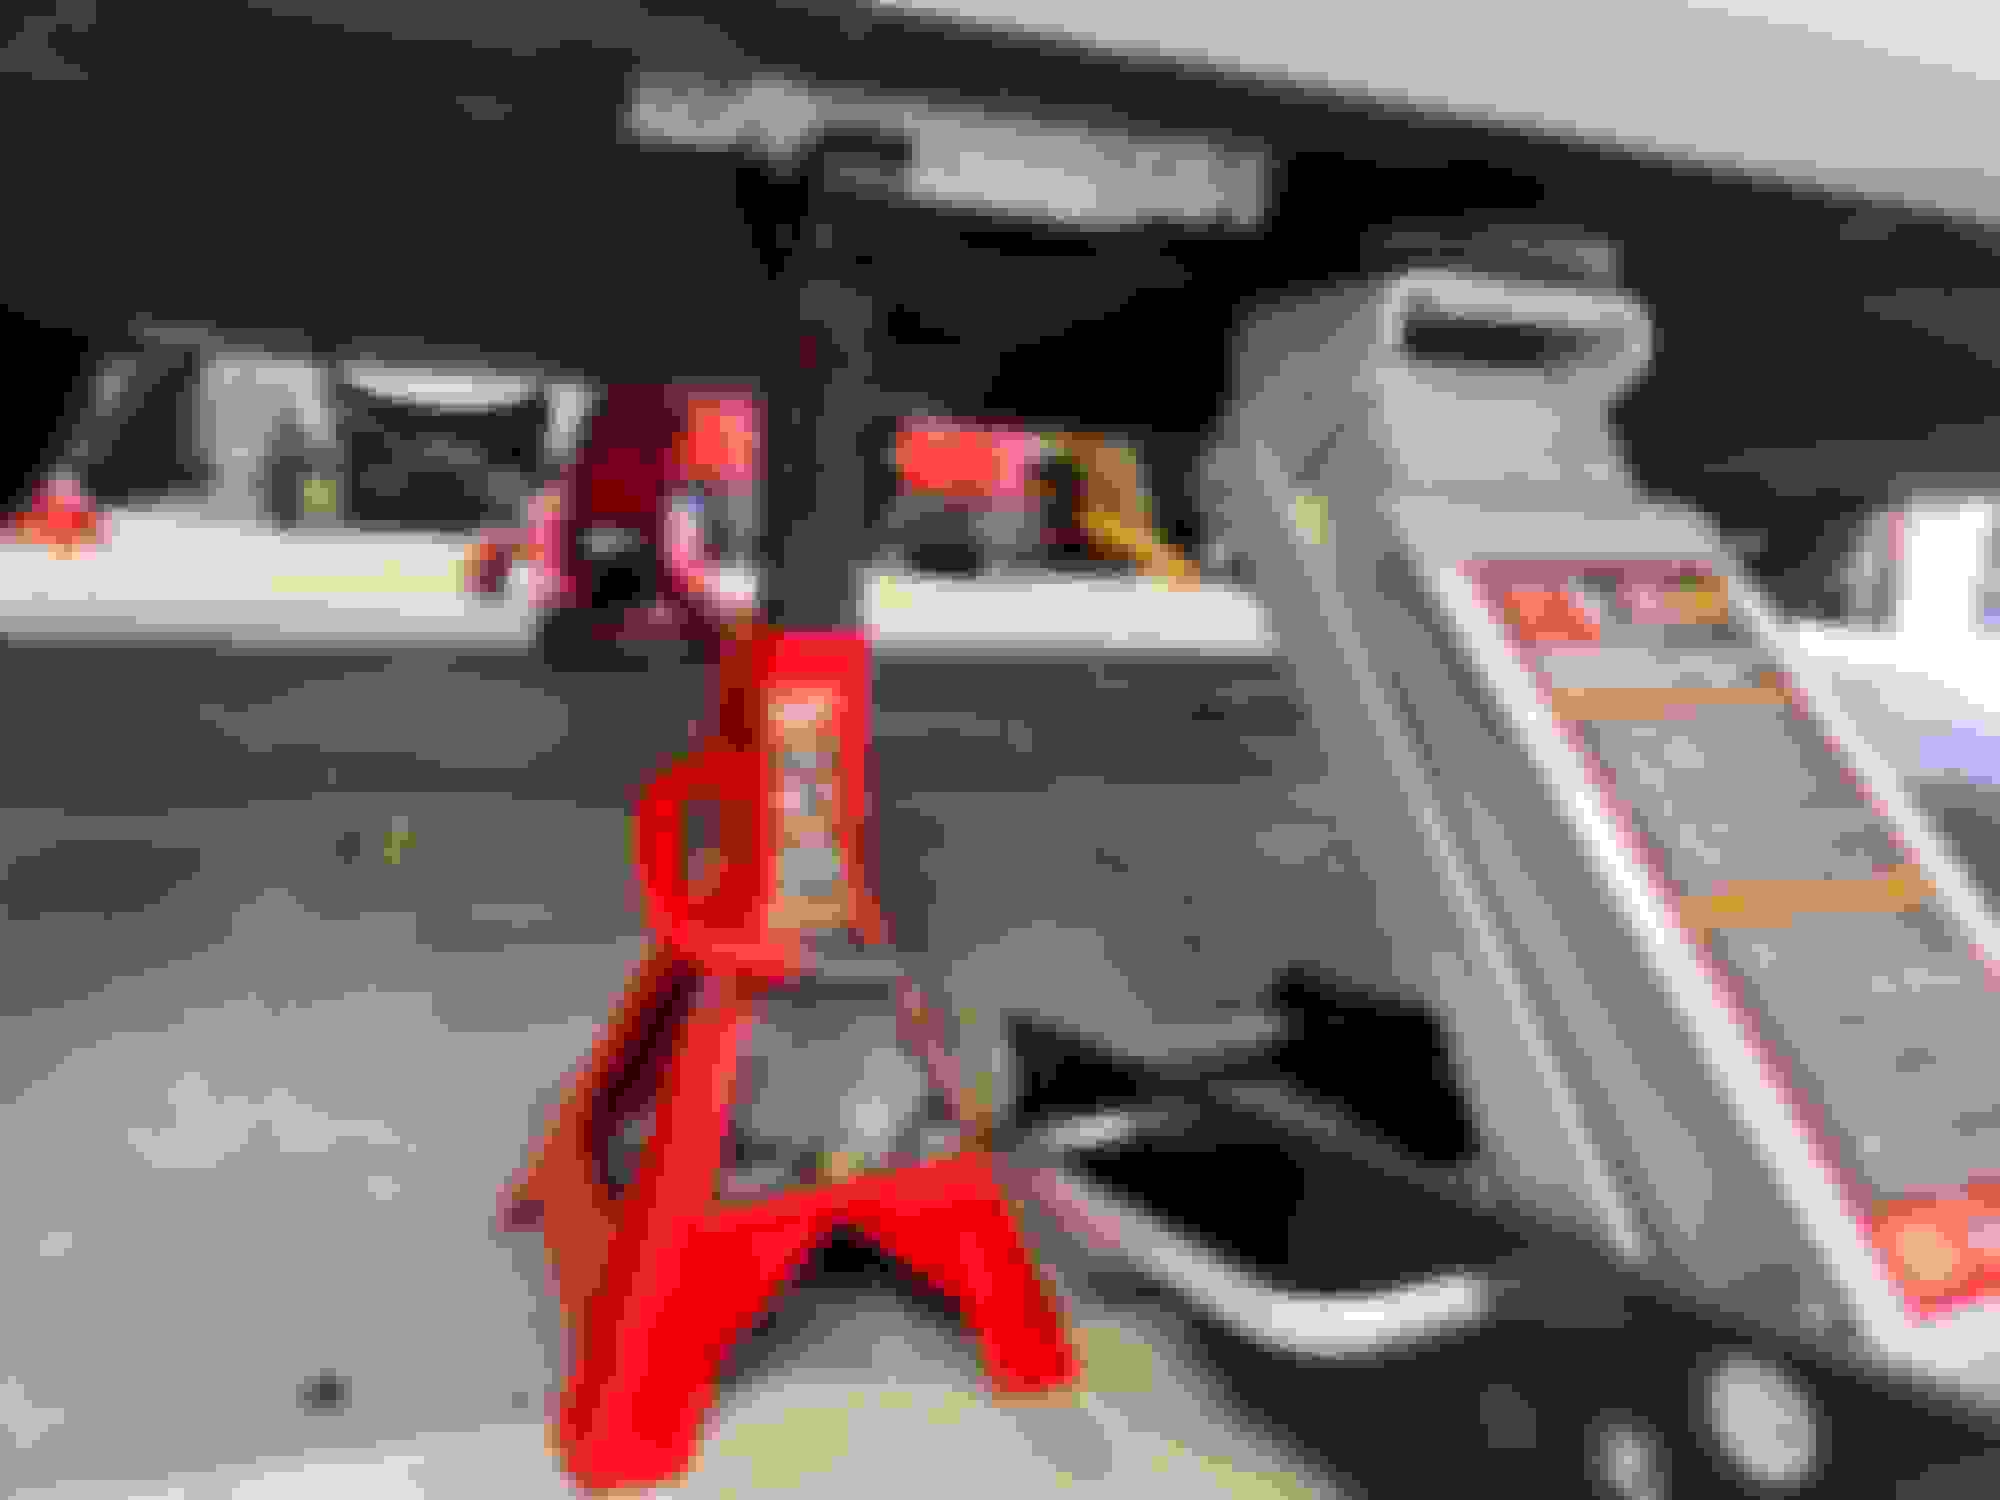
The first obstacle I ran to was how to jack up the entire car on jack stands. This car has no center jack points! Everyone online says the side pinch welds are long enough to fit a floor jack and a jack stand. Wrong!!! I've tried both 1.5ton light weight aluminum floor jack and a heavy duty Daytona floor jack on the pinch weld and neither one can fit a floor jack next to it on the same pinch weld. The base of the two items are just too wide. After much debating and testing, I decided to use a rubber puck and jack up right behind the pinch weld where there is a plastic cover over where the weld would continue. That was the only way I could fit the jack stand. This took forever as I could only do one corner at a time, and if I wasn't careful, the car would easily sway between two opposing jackstands! I really took my time running back and forth maintaining absolute caution and safety. I will probably have to invest in QuickJacks just for this car.
Another tip for taking the wheels on and off, use a wheel hanger! Really helps with German cars when there's nothing to hang the wheels on other than a shallow center cap.
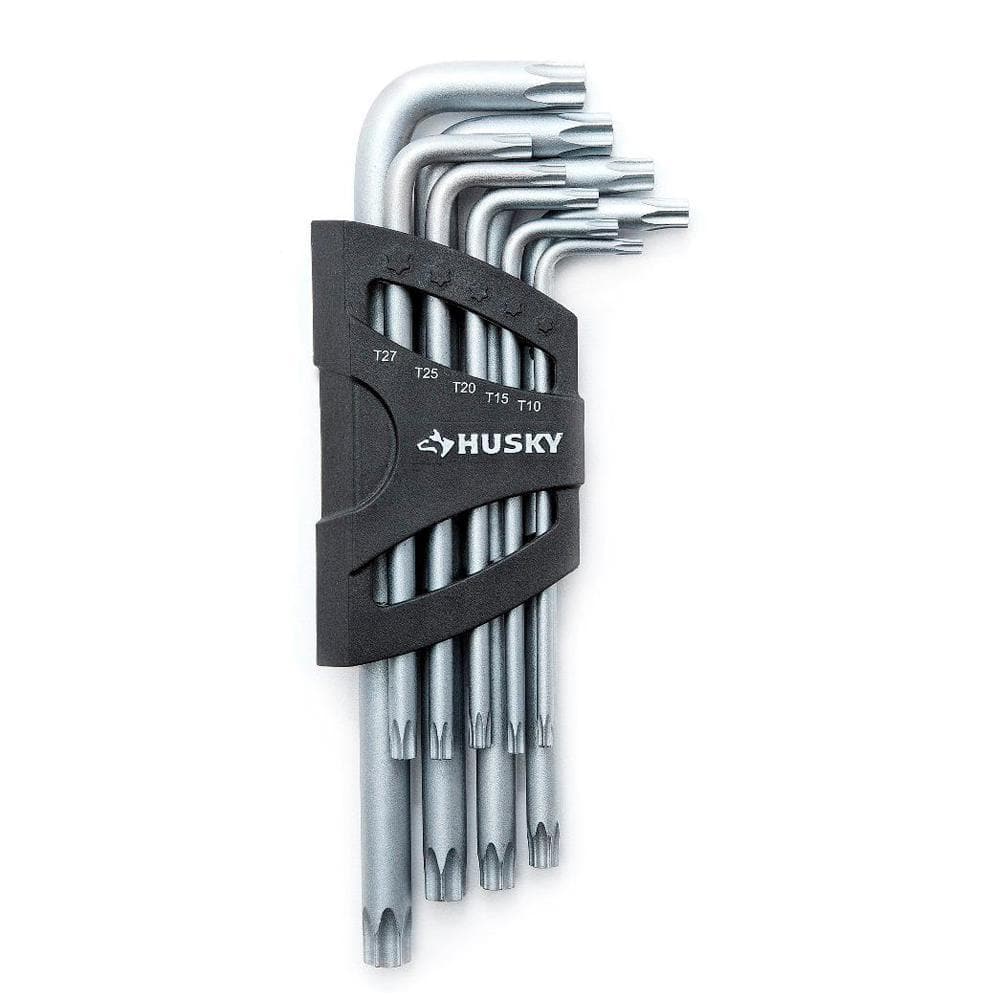
The next hurdle was immediately after taking off the wheels. The brake lines are bolted onto the upper control arms with low profile triple square screws! I never owned triple square sockets because I never needed them, so I guess now was the best time to get them. Of course nowhere local sold them, nor low profile torx sockets either as a T50 torx would've been a fine substitute for M10 triple square. Nope, gotta order them online. I actually found a T-50 L-key set from Home Depot and decided to give it a shot. Once I got my low profile triple square socket, I tested it along with my L-key torx. The low profile M10 STILL can't fit between the screw and the upper control arm, but the T50 L-key had no problems. I guess I should've gotten one of those ultra low profile socket sets that costs 4-8x more.
I started seeing a trend of me ordering tools as I go along this project from Amazon.
All the DIYs says to take off the 21mm screws for the front calipers. All of them made it look easy... well for the life of me, I couldn't undo the bolts with my breaker bar nor my impact gun after rounds and rounds of penetrating oil. The limitation of how high I could jack up the car was a factor of how long my breaker bar can be before hitting the floor or the car. I started rewatching many DIY videos again, where they all cut to the part where they just loosened the bolt. Only one video showed the trick of turning the wheel to one side so you can get clearance to use a cheater bar. Brilliant! Why didn't I think of that? I was able to get a second pair of hands to hold the steering wheel in place long enough on each side that I was able to use my whole body weight on the cheater bar and finally cracked free the 21mm bolts. I borrowed their hands again when re-tightening the bolts after.
Since I was already on a tools shopping spree, I decided what else could make my life easier for all future car maintenance that I've been too cheap to get? A proper brake caliper spreader. I will say it was so worth it, to easily spread all 6 pistons back into position with one ratcheting motion.
Besides dealing with absolutely tight spaces and ultra low tolerance for space, I managed to get new brake pads on the car, with new brake wear sensors. Now it was time to bleed the brakes.
I've gone through every stage of brake bleeding two man jobs to trying out various pneumatic brake bleeding systems from the bleeder valve end. I finally decided to purchase my first power bleeder that attaches to the reservoir. I will say, this is also a game changer and worth the investment. I would say it works better than my Harbor Freight pneumatic system that attaches to the brake bleeder valve.
And last but not least, to perform the brake service on the rear, I used obdeleven to open/close the e-brake. When I first purchased the device I paid the 1 year pro membership just to experiment with all the long coding. Now that my membership was up, I didn't feel like paying another year since I no longer needed to change customizations. I found it was cheaper to just pay for the credits for the services I needed. $2.99 to open/close the brakes, and another $2.99 to reset my 75k inspection message = $9 + tax;
As difficult and more time consuming than I imagined it would've been, this was my first time working on an Audi. I guess you could say it was rewarding knowing I could DIY such an impressive car. I also assume most of you have all the tools mentioned above. I just hope someone new in the Audi/German world will find this useful. Don't take shortcuts and get all the tools you need before you start the job so you don't waste time!
Obligatory puppy photo
Last edited by knsaber; 03-07-2024 at 06:22 PM.
Reason: Added puppers
Great job! And great information! I can see the caliper spreader being pretty helpful with the 6 piston calipers. I’ve always made due with an old pad and a screw driver or c clamp, but those may not work well in this situation. I swear some of these fastener types just seem intentionally malicious.
Great write-up and tool usage. @knsaber I remember watching a "Cars and Coding" YouTube video about 4 or so years ago, and he used a very nifty jack/jackstand set, which I thought was genius!!! I told myself, that would be my next jack, and to this day I have yet to buy it. I'll post a video of it here to showcase what an awesome tool to add to our (Enthusiasts/DIYers) arsenal.
I can fully relate to the OP’s comment about some DIY YouTubes hits and misses…especially steps that go missing, skipped or understated explanation-wise. It was my frustration over the shortcomings of videos - and of the lack of them - regarding testing for sunroof drain issues that prompted me to spend a couple of hours compiling and posting a tutorial of that. Borne more out of a desire to make a contribution- albeit a minor one - to a medium I have feasted on for so many years in the realm of DIY stuff.
Excellent post and your black & tan Cavi is the cherry on top. Welcome to the frustrating but rewarding world of Audi maintenance and thanks for saving other owners future headaches.
 03-07-2024, 05:59 PM