When you click on links to various merchants on this site and make a purchase, this can result in this site earning a commission. Affiliate programs and affiliations include, but are not limited to, the eBay Partner Network.
Originally it was from a VW Phaeton - which happened to be in the junkyard near me. then I broke that one (long story) and I found one from a later A4 - not sure which Gen it was. That's how I also learned that the booster and the master are a matched set. There is a rod inside the booster that can be a variable size - which is different depending on the car. As long as the master and the booster come from the same car (or model and year) you're good. a Phaeton master and an A4 booster does NOT work!
Oh interesting. Hmmm, I did get the master cylinder from the same B8 booster car but the C6 booster that I'd ordered isn't coming with it's MC. I do have the original MC for my 90q, so hopefully that will fit on the B4 booster that I've also ordered, if it comes to that. You can really weave a tangled web with modifications.
I suppose that if the C6 tandem booster fits, I'd like to keep that and may have to begin looking for a matching MC.
It's been a spell since I've last updated! I had to give up on my quest for the tandem brake booster mod, after the B8 and then the C6 boosters refused to be installed. In both cases, I had to remove the the ABS module just to be able to get those boosters in place, but then was not able to reinstall the boosters. With encouragement from local Audi friends, I purchased a B4 booster from a Cabriolet and was finally able to get a fit that had also permitted the re-installation of the ABS module, but not without a few minor caveats. The eventual distance from the master cylinder and proportioning valve had changed, so had to re-bend a few brake lines. Also had to bend the power steering pressure hard line off off the steering rack to make clearance for the booster. It also presses against the throttle cable but pushes it out of alignment only a bit.
Anyway, I was on a roll now and had the front axles I'd rebuilt installed, along with heat shield, both front strut assemblies, wheel bearing housings with their new bearings, the G60 calipers that I rebuilt and then had powder coated, Stainless braided brake lines, new track rods and stabilizer bar links along with the stab bar itself and new 034 motorsport bushings. Ah, I should just let the photos tell the story and comment as I go.
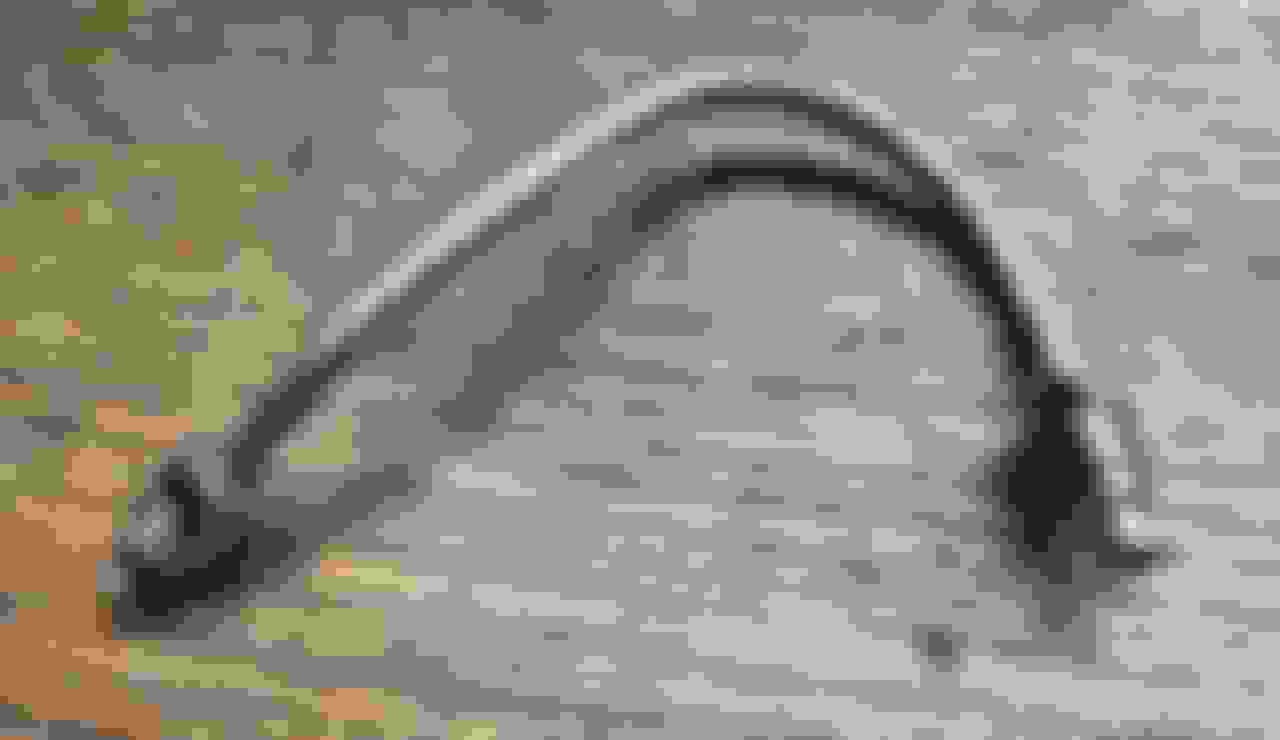
The B4 booster pressed hard on the engine bay electrical harness that arches above its mount. I dreaded doing this but had to cut into the heat shrunk covering and splay out the wires in order for the booster to sit flat against it's firewall surface. My feeble attempt at weatherproofing the harness covering after I'd cut into it. The B4 booster installed (or, at least fitted here). I was disappointed when this eBay booster arrived in a corroded state. I had to sand it up and give it a rattle can paint job. Unfortunately, the connector bracket cannot be reinstalled due to the booster. I just have them zip-tied in place for now and will revisit this issue later. Brake lines reinstalled with a few new bends. New stock MC and reservoir. The silver lining here is, because I am using a B4 booster, I can use the stock MC and proportioning valve. Tapping the rear of the Intake Manifold for booster vacuum. I made a vacuum manifold of sorts out of hoses and fitting I could find. There are a few other small vac lines that this original vacuum source had supplied, so had to make accommodations for them. I found that I could cut and heat this original vac plastic (Polyamide?) line with a heat gun and slide it over a barbed fitting. It shrunk nicely to fit. The OE TTY one use suspension bolts, Wheel bearing housing to strut attach, are NLA, but found these generic TTY VAG bolts that are the same size and grade. The are used in various later model VW and Audi suspension applications. Part number for the bolts... Axles, lower control arms with new bushings, new stab bar links and track rods. I was able to find almost all of the original fasteners with the same grade and thread pitch at Belmetric. I love the yellow zinc look. Heat shield The replacement TTY bolts (that have a heck of a torque spec). Refinished the rusty brake shields. Rotors, carriers and pads in. My brake upgrade, I found G60 calipers on eBay and rebuilt and had them powder coated. I had a heck of a time finding rotors with the correct offset for my 90q 20v. Rotors from a CQ will not work. I sourced them from this company who was able to get them from Germany. Here is the part number, for anyone interested. I had to make up a few new brake lines at the struts. New stainless lines Ws able to torque the new track rods at the steering rack (as well as the CA bolts and stabilizer bar bolts) after the suspension was weighted again.
A local Audi friend supplied me with fairly nice wheels from a Cab. These Audi Ronals have a 37et offset. The OE offset on the wheels for my 20V is 45et. I was able to mostly compensate for scrub radius differences by a plus one tire size, going with Yokohama 205-50-16 tires. It took me most of two days to remove the old bonded on rubber from the old tires on the bead seat areas. I used Goof-Off finishing with Meguires Wheel cleaner. Lights and grilles back in My original hood had a dented front edge but was able to buy a replacement hood from a CQ. The insulation was in terrible condition, so I transferred my original to the new hood. Self-etching primer applied, but I failed to get a photo of the new silver metallic and clear finish coats. Since I had moved the radiator 2-1/2" forward, I had to trim the upper plastic shroud/cover to fit. This is form one of my first fit trials. I had managed a better fit in the end. Insulation transferred. Hood on. There was a little rewiring to do and I was able to get the engine bay under-hood light to work, which I am excited about. Ohhh. I ordered a new hall sender from Latvia. Somehow I managed to break (or, it was broken already) the plastic connector on the distributor body. The wires inside were no longer connected, causing a no-start condition. My '91 90 quattro 20V is back on the road! There is a misfire that increases with load and RPM, which seems like a fuel supply issue. The car was running fine when I last drove it over a year ago. I am assuming that the old fuel is fouling the (old) injectors. I've added injector cleaner to the tank, but so far the issue hasn't improved much. It might take some time to work this out? I have the updated 034 Motorsport injectors and will replace the old original injectors in the near future. After the new wheels and tires were installed and a fresh alignment at the Audi dealership, she's almost ready for a road trip! Well, not quite yet. I have yet to touch the rusty rear suspension and brakes. There is also an exhaust leak back there where the CV joint has rubbed through the sagging exhaust pipe. I have new chain reinforced hangers to install.
That looks great, you virtually refreshed the entire front end! Nice work on those brake lines too, the pictures are so much clearer on the PC.
I didn't realize you still have the OE injectors in place. If running some good gas through it doesn't help, maybe an excuse to swap in the new ones LOL.
Thank you! My reasoning for replacing the injectors later is that the rubber fuel line from the tank to pump looks terrible. I'd like to replace it soon before there is another leak, and I also have a new fuel pump to go in. After I complete that work I'll run the engine for awhile and replace the fuel filter again. I just didn't want to take a chance on plugging up the screens on the new expensive injectors.
I'm probably way overthinking this. Just put the new injectors in, right?
It's been a minute since I'd last posted! Much to catch up on, so will do that over the next few days.
The drivers side window regulator had stopped working, but I was luck enough to find new right and left regulators on eBay from Europe. I was a little shocked to see that the window carrier assembly is very much different than the same on my B5s.
While I was at it, found out why the lock cylinder didn't work. I found a new set of right and left door latches with new lock cylinders and keys (both different!) from Germany. Unfortunately the price with shipping was really up there.
New latch and lock cylinder installed.
New window regulator in and lubricated. The regulators both came with new motors, which was a plus!
The door vinyl had separated and had been leaking rotten foam onto the door switches. It was time to remove the old foam, clean the surfaces and replace the foam.
I had some leftover scraps of headliner material that was the correct thickness. Masked off here for the spray adhesive.
I had read in an Audi Facebook group post that the original NLA Knock Sensors can be replaced by the more modern knock sensors from an AAN or AFC engine (same part numbers). I did that and wow, what a difference it made!
While replacing the knock sensors, I'd noticed a raw fuel odor, narrowing it down to the fuel line connection at the rail. I removed the lines and cut the collars off in preparation for line replacement, but ended up having a local hydraulics shop build the new lines for me.
The bad Hall sender in the distributor was causing a no-start issue, but I found a good rebuild company in the UK and sent it off to them.
Belmetric had new bonded rubber isolation mounts that I replaced the old sagging FPR mounts with.
I installed a fuel pressure gauge along with the new fuel lines. JIC metric adapter ends were required.
I had blamed this slightly low fuel pressure on a weak pump, but the pressure did not increase much after the pump replacement. I'll probably go for an adjustable FPR soon.
The newer knock sensors installed. Sorry about the out of order photos!
The hydraulics shop had to use the original end fittings for connection to the bubble flares on the fuel hard lines.
Distributor back from the UK, rebuild with a metal gear, new hall sender, bearings, O-ring, cap and rotor, although I replaced them with the new Bosch cap and rotor that I had. The refurbished distributor made a big operational difference!
 06-28-2023, 06:38 AM